The first time you try to build a desktop app in Python, you expect it to feel like writing a script. It doesn’t. There’s a framework underneath everything, and until you understand how it thinks, every line of code feels like guessing.
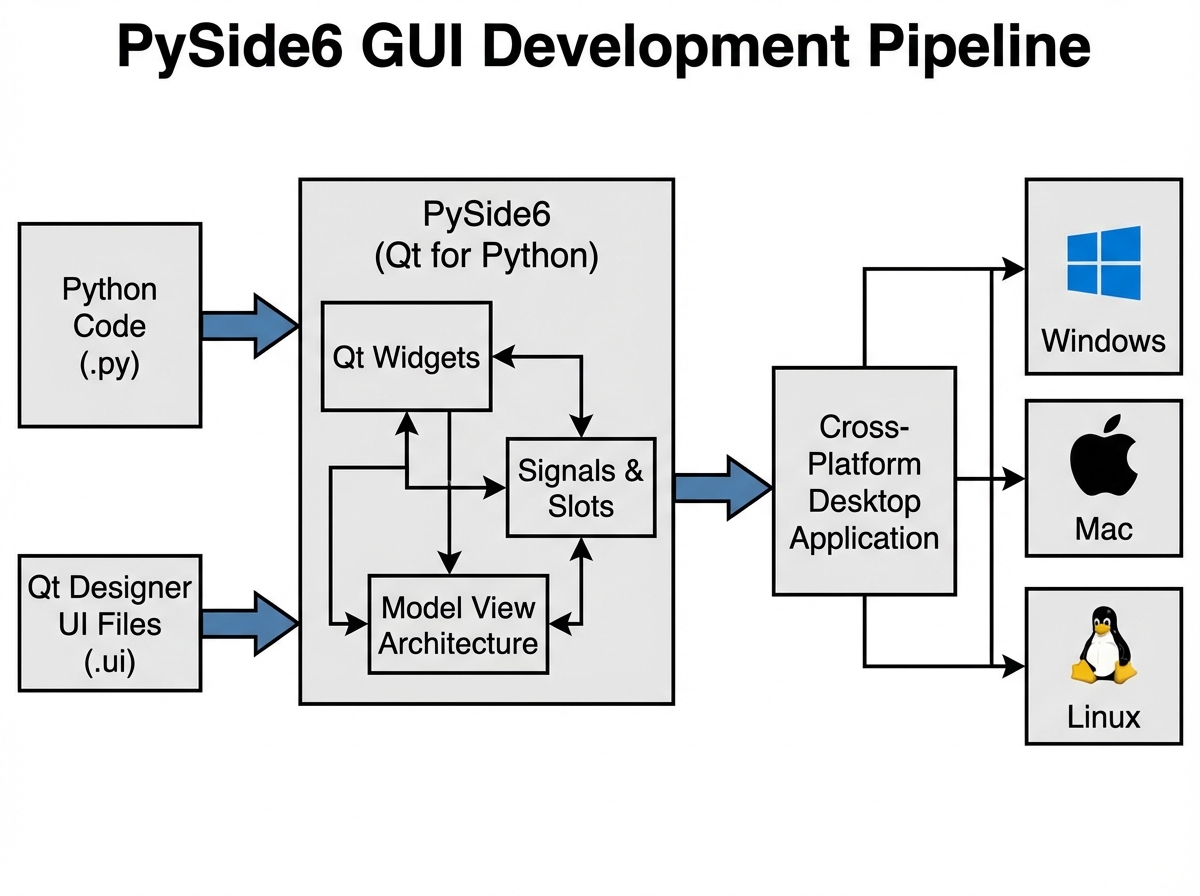
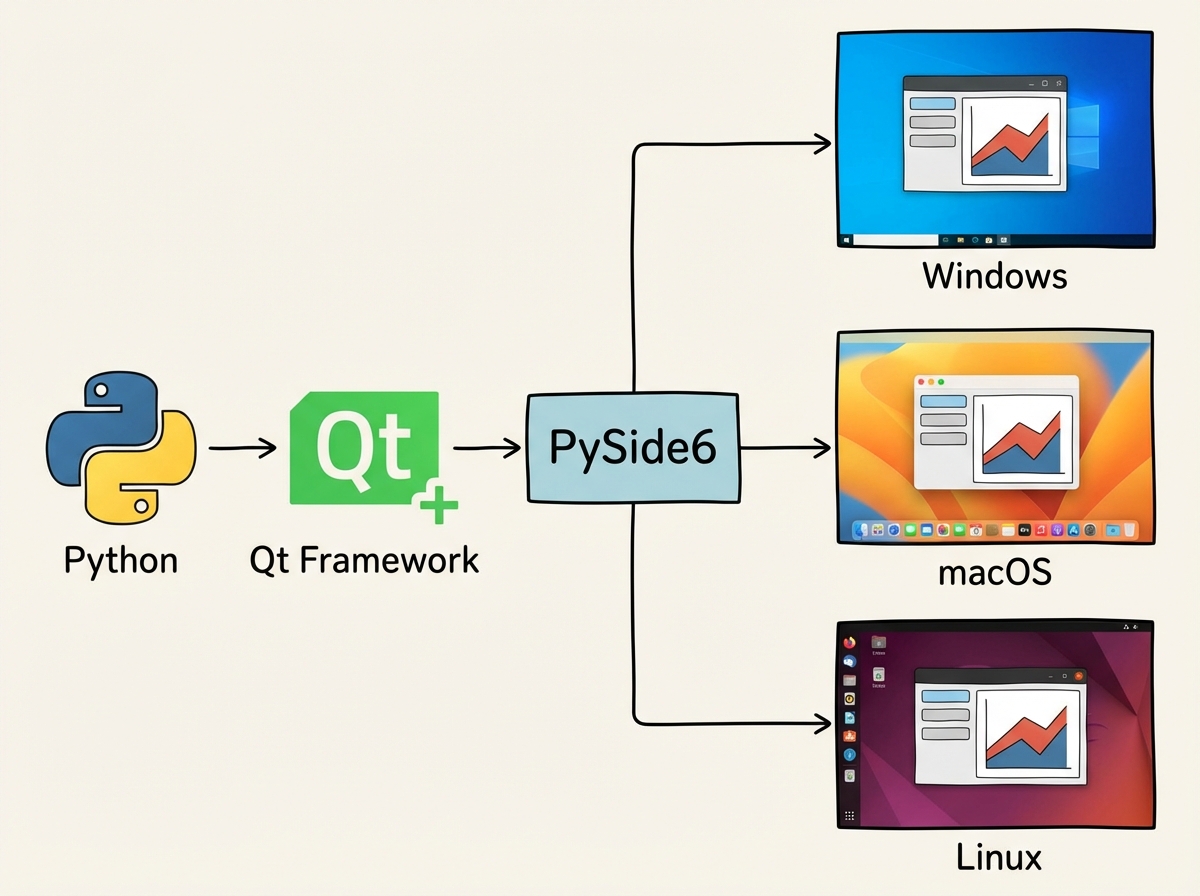
If you’re looking to learn PySide6 GUI development, the short answer is this: PySide6 is Python’s official binding to the Qt framework, and it lets you build desktop applications that run natively on Windows, Mac, and Linux from a single codebase. The learning curve is real but front-loaded — once signals and slots click, the rest of the framework starts making sense fast.
- PySide6 is the right choice if you want a production-ready, cross-platform GUI framework with Python — not a toy toolkit
- The hardest part isn’t learning widgets — it’s understanding how Qt’s event system connects your logic to your interface
- Most beginners stall at the Model View Architecture — knowing it’s coming lets you pace yourself instead of quitting
What PySide6 Actually Is (For Someone Starting From Python)
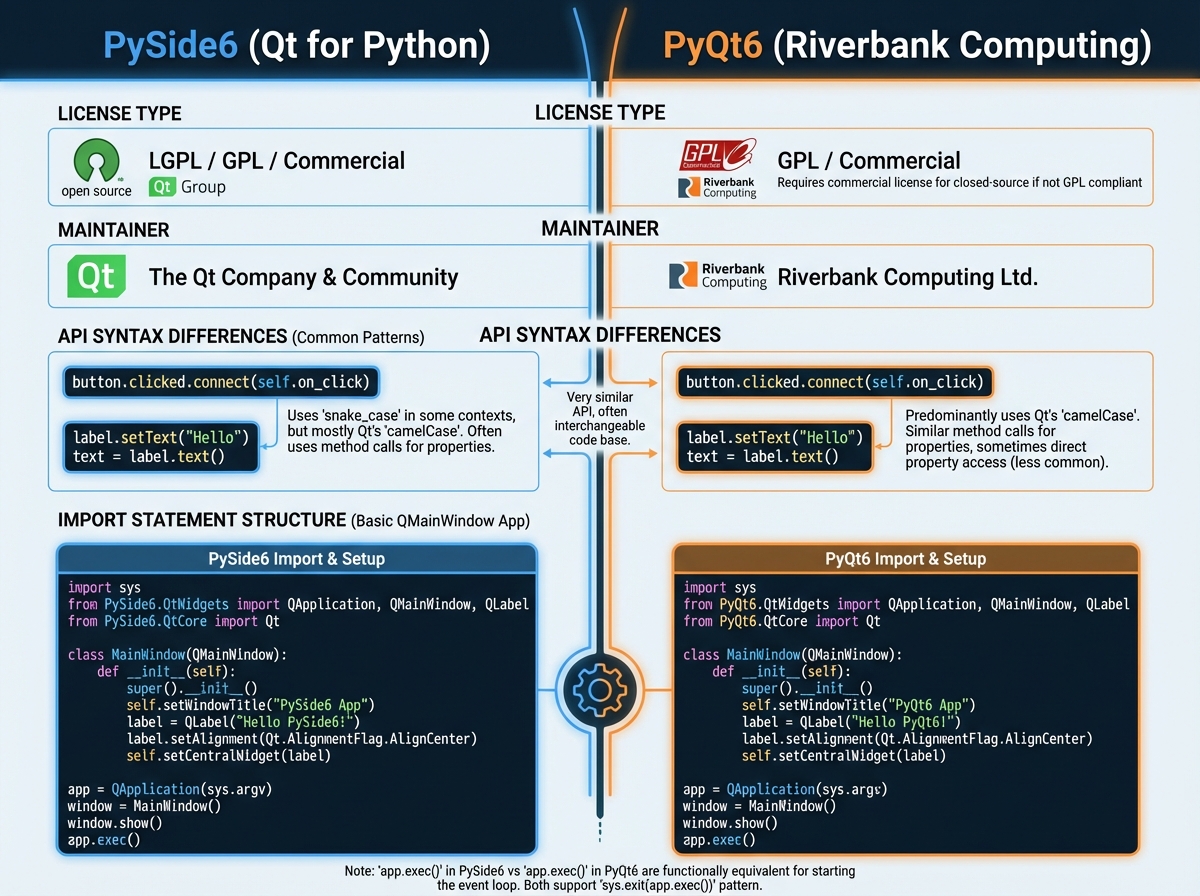
PySide6 is the official Python binding for Qt 6, maintained by The Qt Company. It’s not a third-party wrapper that might break with the next Python release — it’s a first-class language binding. The alternative you’ll hear about is PyQt6, which does almost the same thing under a different license.
| Feature | PySide6 | PyQt6 |
|---|---|---|
| Maintainer | The Qt Company (official) | Riverbank Computing |
| License | LGPL / Commercial | GPL / Commercial |
| API Compatibility | Near-identical | Near-identical |
| Documentation | Qt official docs | Qt docs + PyQt additions |
| Best for | Open projects, commercial use | Established PyQt codebases |
For anyone starting fresh, PySide6 is the cleaner path. The licensing is less restrictive, and the documentation maps directly to the Qt C++ docs without translation overhead.
Three Things That Surprise Every Beginner
- Qt doesn’t run your code top-to-bottom — it runs an event loop that waits for things to happen
- A widget without a parent window will never show up, no matter how correctly you coded it
- The Model View Architecture is not optional once your app handles real data
How Long PySide6 GUI Development Actually Takes
| Stage | Content | Time |
|---|---|---|
| Environment + First Window | Python install, PySide6 setup, first QMainWindow | 1–2 hours |
| Signals and Slots | Understanding Qt’s event system | 2–4 hours |
| Core Widgets | QPushButton, QLabel, QLineEdit, layouts, QListWidget, QTabWidget | 6–10 hours |
| Qt Designer | Drag-and-drop UI design, loading .ui files, resources | 4–6 hours |
| Dialogs and Styling | QDialog, QFileDialog, QPalette, stylesheets | 3–5 hours |
| Files, Settings, Network | QSettings, QFile, QNetworkAccessManager, JSON APIs | 3–5 hours |
| Model View Architecture | QListView, QTableView, custom models, QAbstractItemModel | 6–10 hours |
| Packaging | Bundling your app for distribution | 1–2 hours |
| Total | Full beginner-to-functional path | 26–44 hours |
The order here matters more than the speed. Jumping to Model View before understanding signals will cost you more time than just going in sequence. And if it takes you twice as long as this table suggests — that’s normal. The people who go slow at the widget stage almost always have fewer problems later.

The Moment You Realize Qt Has Its Own Way of Thinking
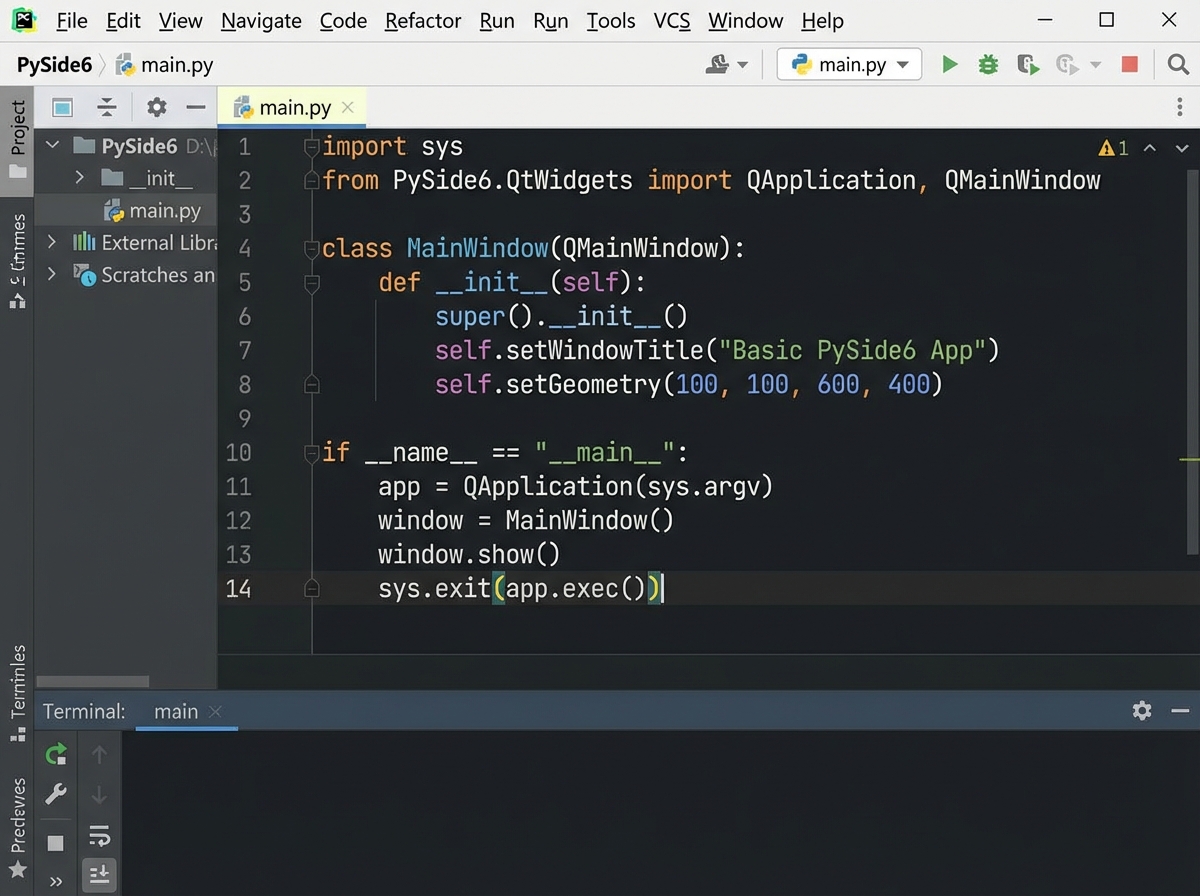
Most people who come to PySide6 from plain Python scripting hit the same wall within the first hour. They write a function, they call the function, they expect something to happen on screen. Nothing does. Or worse, the window flashes and disappears. The problem isn’t the code — it’s that they haven’t started the event loop yet. app.exec() isn’t just a line you add at the bottom. It’s the thing that keeps the entire application alive and listening.
Once that registers — that Qt is event-driven, not procedural — the rest of the architecture starts to feel logical. Widgets don’t do things on command. They respond to events. Your job as a developer is to wire up what should respond to what, and Qt handles the rest.
The entry point pattern (if __name__ == "__main__") stops being boilerplate and starts being meaningful. You’re not just running a script. You’re launching a runtime.
Signals and Slots: The Concept That Changes Everything
The single biggest mistake people make when learning PySide6 is treating signals and slots like a fancier version of callbacks. They’re not. A callback says “call this function when this happens.” A signal says “something happened — anyone who cares can respond.” The difference is that multiple slots can connect to one signal, one slot can receive from multiple signals, and you can disconnect them at runtime. That flexibility is what makes complex Qt applications manageable instead of spaghetti.
The confusion usually hits when you try to connect a signal and nothing happens. Nine times out of ten, the slot reference is wrong — you passed the result of calling the function instead of the function itself. button.clicked.connect(self.handle_click) is correct. button.clicked.connect(self.handle_click()) silently breaks everything.
When it finally works — when you click a button and watch a completely separate widget update without any direct function call between them — something shifts. You stop thinking about your app as a sequence of operations and start thinking about it as a network of objects that talk to each other.
Working Through Qt Widgets Without Getting Lost
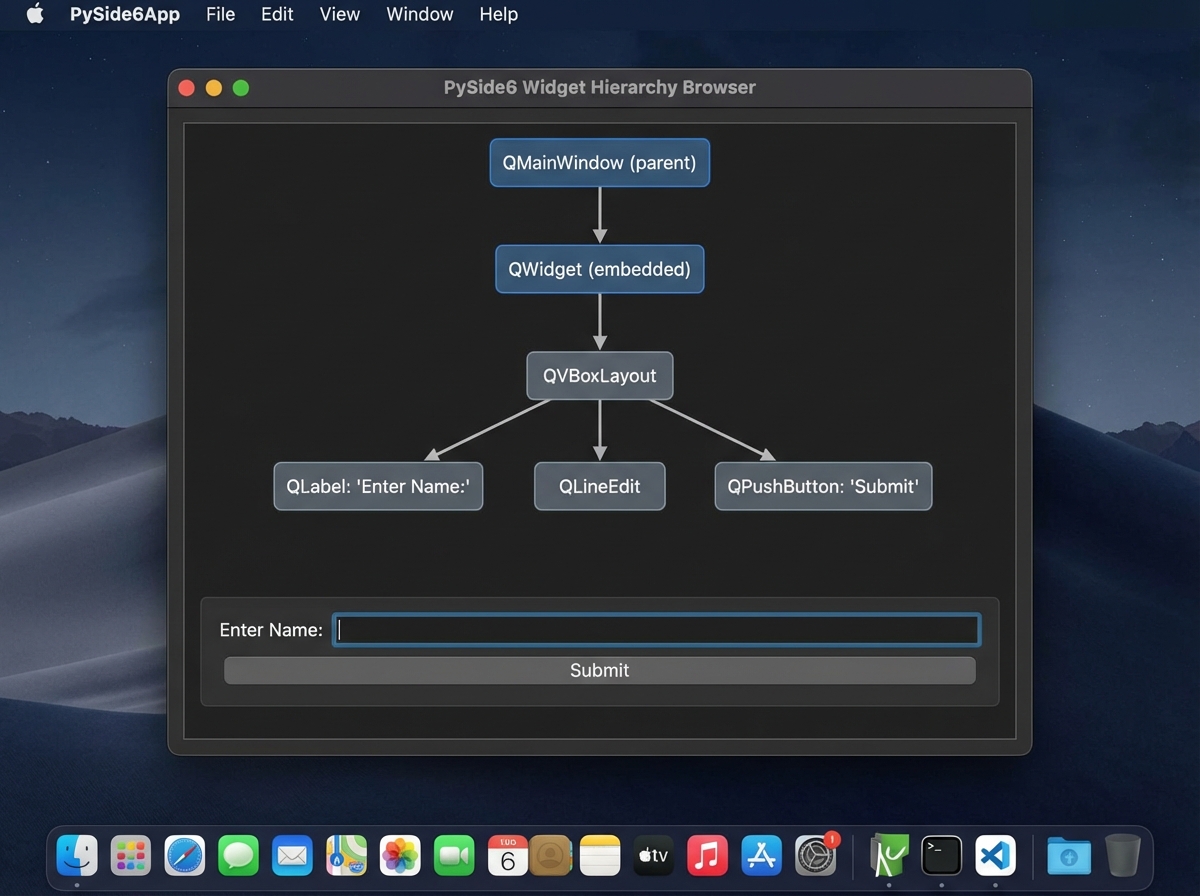
There are a lot of widget classes. QWidget, QMainWindow, QPushButton, QLabel, QLineEdit, QTextEdit, QCheckBox, QRadioButton, QListWidget, QComboBox, QTabWidget — and that’s before layouts. The temptation is to try to memorize all of them upfront. That’s the wrong move.
The practical approach is to understand the hierarchy first. Everything is a QWidget. QMainWindow is a QWidget with a menu bar, toolbar, and status bar built in. Dialogs are QWidgets configured for temporary interaction. Once you see that all of these inherit from the same base class, you stop treating each widget as a separate thing to learn and start treating them as variations on a theme.
Layouts — QHBoxLayout, QVBoxLayout, QGridLayout — are where most beginners lose significant time. The instinct is to set fixed pixel positions for everything. That works until you resize the window, and then your entire UI breaks. Layouts are Qt’s answer to responsive design at the desktop level. Size policies and stretch factors are fiddly at first, but they’re what separates an app that looks professional from one that looks like a prototype.
For those also working on Python OOP fundamentals, the widget hierarchy is a live example of inheritance and polymorphism working in production code — not a textbook exercise.
Qt Designer Makes You Faster, But Only If You Understand What It Outputs
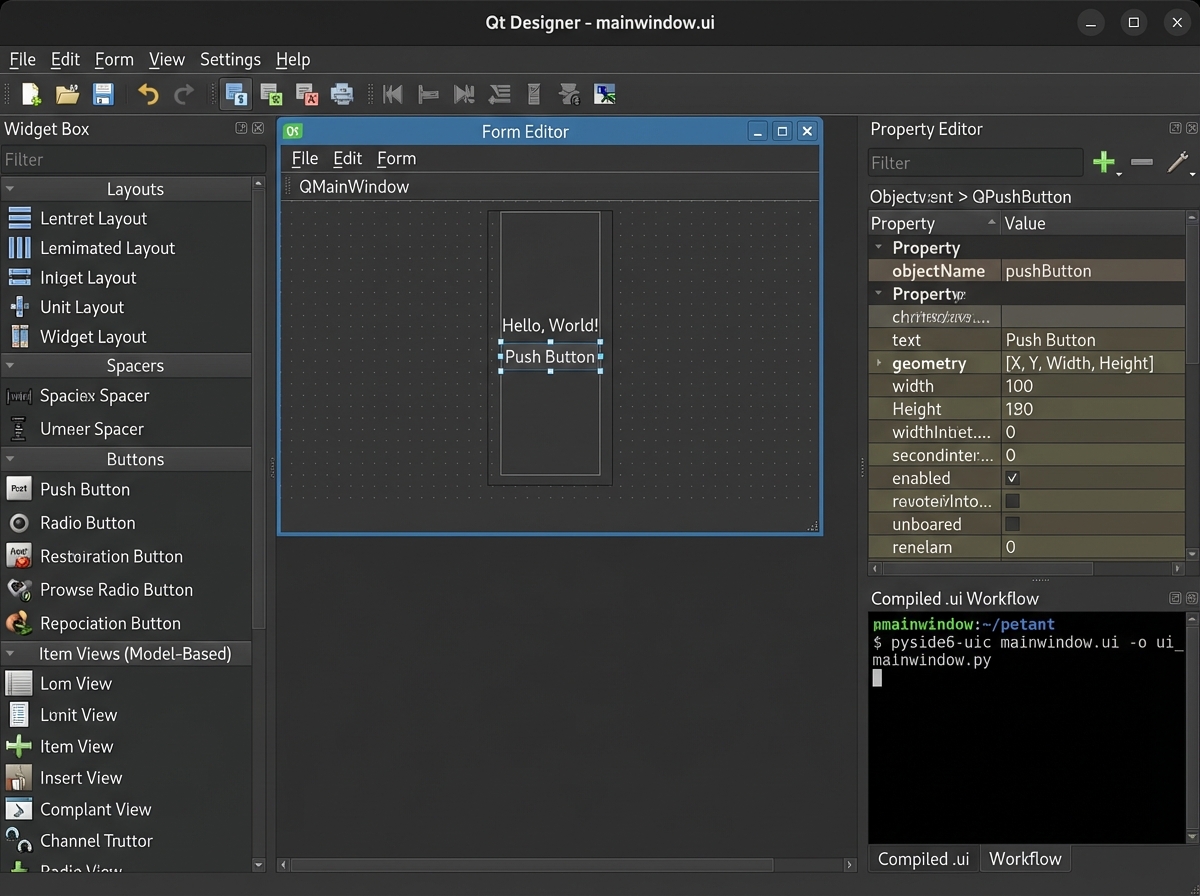
Qt Designer is a drag-and-drop UI builder that generates .ui files — XML descriptions of your interface. You can load these at runtime with QUiLoader or compile them to Python with pyside6-uic. Both approaches work. The question is which one fits how you think about your project.
The mistake here is using Qt Designer as a crutch before understanding layouts in code. If you don’t know why a widget behaves the way it does in a coded layout, Qt Designer’s output will confuse you when it doesn’t do what you expect. But if you come to Qt Designer after having built a few interfaces by hand, it becomes genuinely useful — especially for the Qt Resource System, which manages images, icons, and stylesheets in a way that makes your app portable across machines.
Qt Creator is the full IDE version of the same tooling. It has more features but more setup. For pure Python GUI work, Qt Designer standalone is usually enough.
Dialogs, Styling, and the Details That Make Apps Feel Real
Built-in dialogs — QFileDialog, QFontDialog, QColorDialog, QInputDialog — are the fastest way to add real functionality to a Qt app. They handle the native OS file picker, font selector, and color chooser without you writing a single UI component. Using them feels like cheating in the best possible way.
Styling is where a lot of developers spend too much time too early. QPalette lets you change colors globally. Stylesheets give you CSS-like control over individual widgets. The limitation nobody warns you about is that QPalette and stylesheets don’t always play well together — applying one on top of the other can produce unexpected results. The clean approach is to pick one system and stick with it per project.
QSettings is the unsung hero of desktop app development. It stores user preferences persistently across sessions — window size, last opened file, theme preference — using the platform’s native storage (registry on Windows, plist on Mac, config files on Linux). One class, three lines of code, and your app remembers things between launches.
Working with Networks and Data in a Qt App
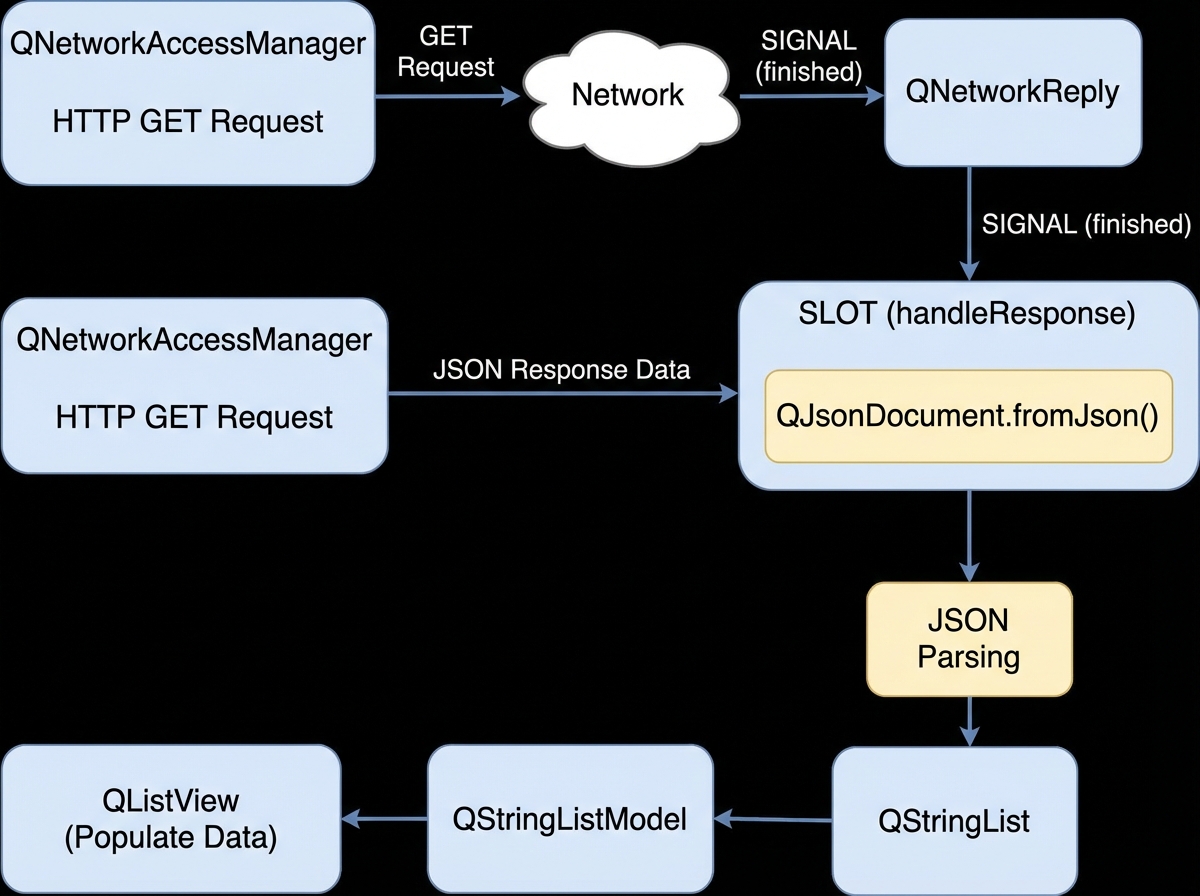
QNetworkAccessManager is Qt’s built-in HTTP client. It’s asynchronous by design, which means you fire off a request and get notified when the response arrives via a signal — not by blocking and waiting. This is the right pattern for GUI apps, because blocking the main thread freezes the entire interface.
Handling JSON APIs with Qt involves parsing the response, mapping it to Python objects, and deciding how to display the result. This is where the Model View Architecture starts showing up in a practical context before you formally study it. If you dump JSON data directly into a QListWidget, it works — until you need to sort it, filter it, or update it efficiently. That’s when you understand why Qt has a separate model layer.
The Model View Architecture: Where PySide6 Gets Serious
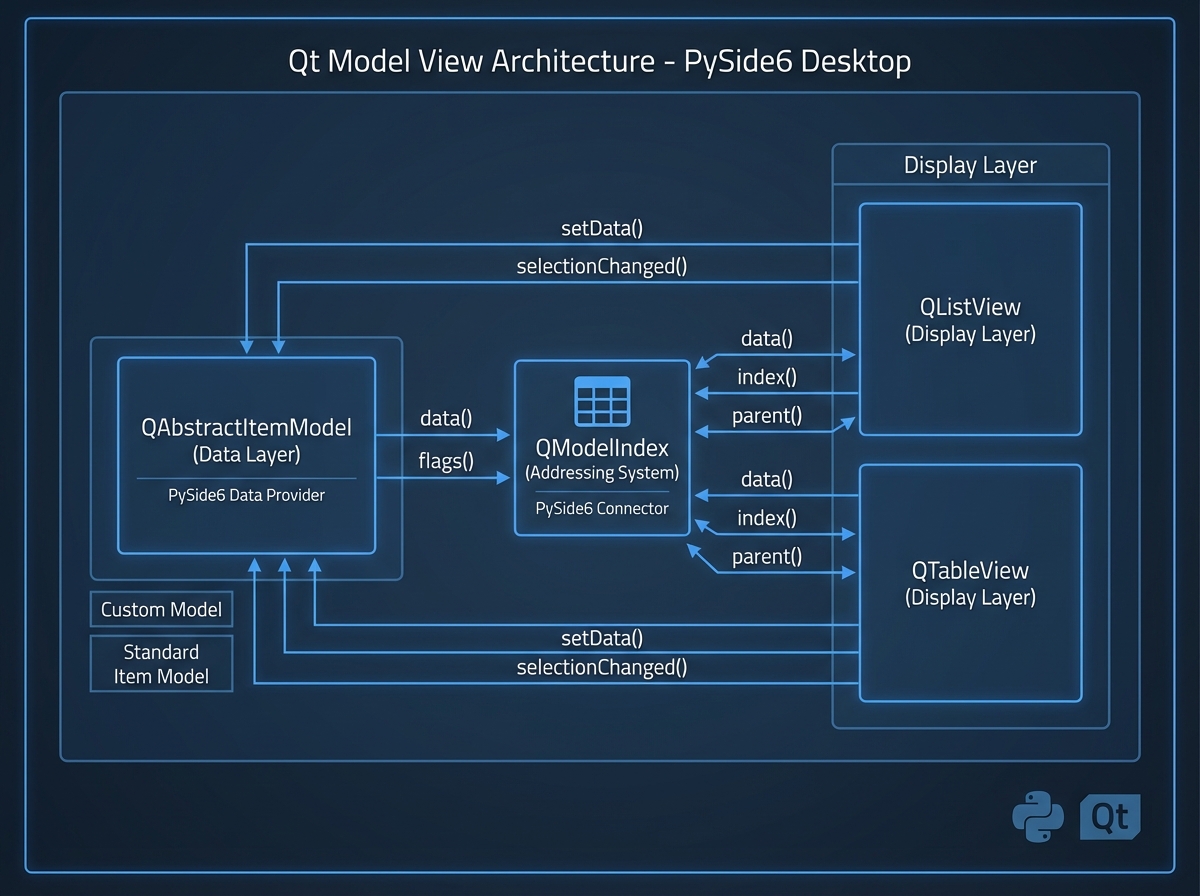
This is the section that separates people who build toy apps from people who build real software. The Model View Architecture (MVA) in Qt separates data (the model) from how it’s displayed (the view) and how it’s interacted with (the delegate). QListWidget, QTableWidget, and QTreeWidget are convenience widgets that combine all three — fine for small use cases, but they don’t scale.
QListView, QTableView, and QTreeView are the real views. They need a model — QStringListModel, QStandardItemModel, or a custom QAbstractItemModel subclass — to tell them what to display. Writing a custom model is the hardest thing in this entire learning path, and it’s also the most valuable. Once you’ve implemented rowCount(), columnCount(), data(), and headerData() from scratch, you understand exactly how Qt renders data, and you can make any view display anything.
QModelIndex is the addressing system that ties it all together — it’s how Qt identifies exactly which cell in which model corresponds to which row and column. It feels abstract until you need to handle a click on a specific table cell and trace it back to the underlying data object. Then it feels essential.
Packaging and Shipping What You Built
Getting your PySide6 app running on your own machine is one thing. Shipping it to someone who has never heard of Python is another. Tools like PyInstaller and Nuitka bundle your interpreter, dependencies, and assets into a single executable or folder. The process is mostly straightforward, but resource files — images, stylesheets, .ui files — need to be explicitly included or the packaged app will launch with missing assets and no useful error message.
The Qt Resource System, when used correctly, helps here. Compiling resources into a Python file with pyside6-rcc means those assets are embedded in your code, not sitting in a separate directory that might not be found at runtime. It’s extra setup upfront, but it’s the difference between a distributable app and a folder of files that only works on your machine.
Looking back at the full arc — from a blank window that disappears immediately to a packaged app with persistent settings, network data, and a proper data model — the thing that stands out most is how much of Qt is consistent. The same event-driven thinking that makes signals and slots work also makes the network layer make sense. The same parent-child hierarchy that governs widget layout also governs model indexing. Learn the mental model early and the rest of the API starts to feel like variations on the same idea.
Start with a single working window before touching anything else. One QMainWindow, one QPushButton, one signal connected to one slot — confirm that loop works before adding complexity.
Build the layout in code before using Qt Designer. Knowing how QVBoxLayout and size policies behave in code makes Qt Designer output readable instead of mysterious.
Write one custom model before the course ends. Even a trivial QAbstractTableModel with five rows of static data gives you a reference point for every data display problem you’ll face later.
Use the Qt documentation directly, not just tutorials. Every class has a property list, signal list, and method list. Learning to read it is a skill that pays off faster than any single tutorial.
Test on a second platform early. Cross-platform claims only mean something when you’ve actually verified them. A virtual machine or a second computer running a different OS catches platform-specific layout issues before they become shipping problems.
Handle the packaging step before your app gets complicated. Packaging a small app reveals missing resource issues while they’re still easy to fix. Doing it for the first time on a large project is a painful debugging session.
Separate your UI code from your logic from the start. Put business logic in plain Python classes, keep widget code in widget classes, and use signals to communicate between them. This isn’t advanced architecture — it’s the pattern Qt was designed for.
Leave a Reply