How to learn Tai Chi Qigong Shibashi set 1 without getting lost
I thought I could “just copy the moves” and my body would figure the rest out. What actually happened was the opposite: the more accurately I tried to mimic my memory, the more tense and distracted I became.
Direct answer
If you’re looking to learn Tai Chi Qigong Shibashi set 1, start with the Shibashi 18 movements as a breathing-synchronized sequence, not a choreography you memorize by force. The breakthrough for me wasn’t mastering each posture perfectly—it was learning how the stance, arm arcs, and timing all have to support one internal rhythm. When your attention stops chasing “doing it right” and starts tracking breath + alignment, the practice finally feels like it belongs in your body, not on top of it.
- Aim for smooth, continuous flow with breathing timing, not “counting” the 18 movements.
- Let soreness or heat show up without panicking, and adjust your range before pushing through.
- Use attentive focus to reduce stress and distractions so the movements can organize you.
What is Tai Chi Qigong Shibashi set 1?
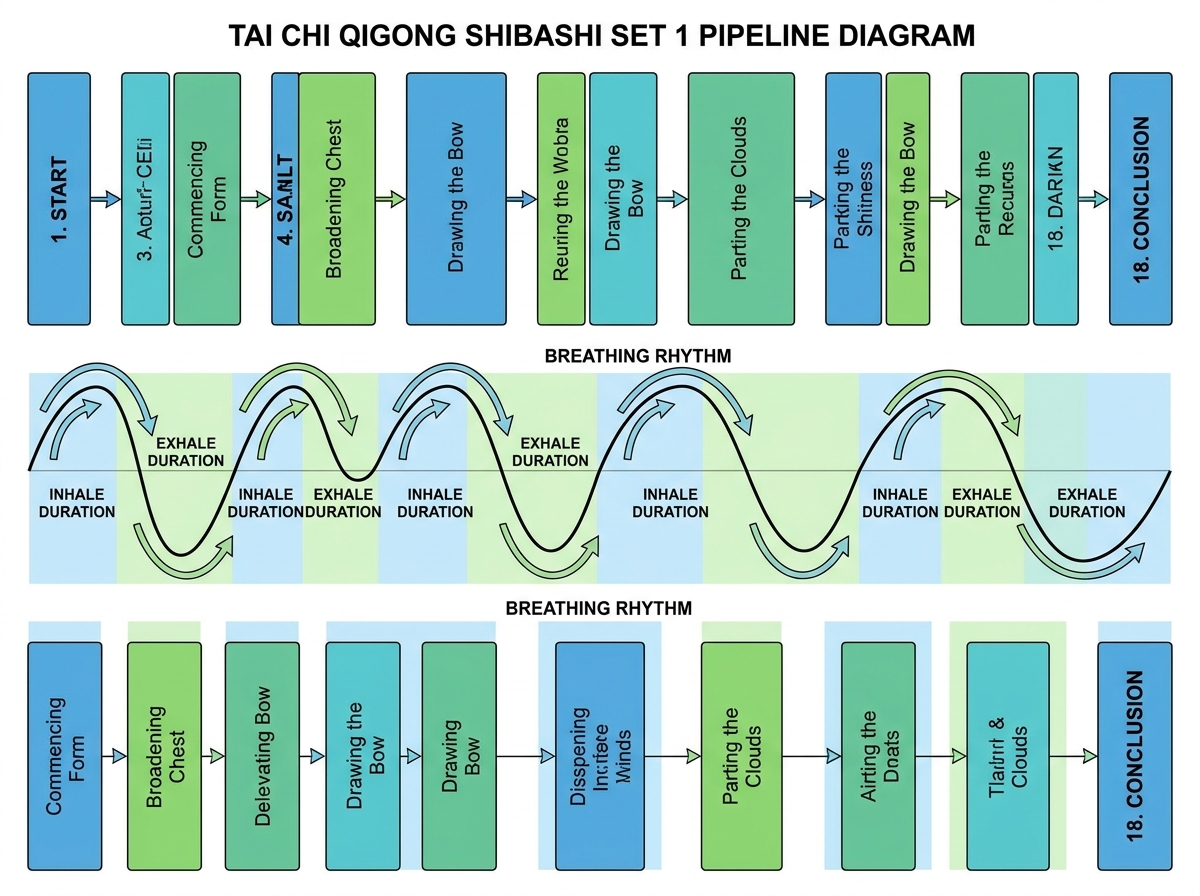
Tai Chi Qigong Shibashi set 1 is a beginner-friendlier collection of 18 simple movements meant to be practiced as one connected sequence. For me, the key definition is this: each movement is “small,” but the set is “whole”—your job is to keep continuity (stance-to-stance, arm-to-arm) while your breathing stays steady.
You’ll hear people describe it as a blend of Qigong-style postures and Tai Chi traits, and I felt that in how the practice mixes gentle physical work with internal attention. If you’re choosing what to learn first, I’d separate it like this:
- Set 1 (18 movements): builds your baseline coordination and breath timing.
- Full set (with breathing pattern): helps you stop treating transitions like separate tasks.
Three sharp insights people miss
- Your arms aren’t the point; your waist and breath are.
- “Slow” isn’t the tempo—alignment is.
- Distraction feels like muscle tension, not mental noise.
How long it takes to get it
| Stage | Content | Time |
|---|---|---|
| First connection | Learn the starting leg posture and one transition cleanly | 1–2 days |
| Breathing lock | Sync your breathing duration with continuous flow across movements 1–6 | 1 week |
| Set rhythm | Smooth movements 7–12 without stopping to “fix” form | 1–2 weeks |
| Full sequence | Run movements 1–18 as one uninterrupted practice | 2–3 weeks |
| Settling in | Keep it comfortable, refine precision, notice body feedback | 4–6 weeks |
| Total estimated time | Build a reliable, non-stressful Shibashi set 1 routine | 7–11 weeks |
Order matters more than speed, because the sequence is what trains your internal timing. It’s normal to feel slower at first—your body is calibrating, not failing.
Stop treating it like memorization
The biggest moment of confusion for me was when I tried to “remember the shapes” instead of the pathway. I’d get to movement 4 and realize my shoulders had crept up, my breath had shortened, and my mind was stuck performing instead of sensing.
Once I stopped forcing memory and instead anchored everything to a single internal rhythm, Shibashi became easier than it sounded. I kept asking a simple question while practicing: what has to stay true so the movement can happen without strain? That question took me from chasing perfection to feeling continuity.
The detail that changed everything was transitions—especially where you change your stance and let the arms follow rather than lead with effort. When I respected that, the sequence didn’t feel like 18 separate drills; it felt like one sentence written in body language.
Learn the Shibashi 18 movements as one system
If you’re looking for the longtail answer people usually mean—“Shibashi 18 movements how to learn them in the right order”—the real trick is not order on paper. The trick is order inside your body: you move because the stance, waist, and breath create space for the next motion.
I used the first half like a warm map instead of a test. Movements 1–6 taught me how to broaden chest and keep the arms circulating without grabbing with the hands. As soon as I started treating the arms as “carrying” the rhythm (instead of pulling power), my movements looked smoother even when I wasn’t thinking about how they looked.
Then movements 7–12 finally made sense to me because they required that same continuity to stay comfortable. “Circling arms separate the clouds” felt different once my breathing stayed steady; the posture stopped being a pose and started being a flowing pattern.
When I reached the second half, the breakthrough arrived: my waist could rotate without tension, and pushing palms didn’t feel like forcing—it felt like releasing force from the center. The set became something I could repeat without dreading the middle.
The moment Tai Chi Qigong Shibashi set 1 clicked
The single biggest mistake people make when learning this topic is pushing through discomfort like it’s a moral test. I remember forcing a bigger range because I thought “that must be what healing is”—and I ended the session with numbness and heat that didn’t feel like a helpful signal.
On the next attempt, I did the unglamorous thing: I reduced range, kept the timing, and treated the body feedback as information. I paid attention to where soreness, numbness, swelling, or warmth showed up in my hands, feet, or other areas. Instead of assuming something was “wrong with me,” I adjusted and made the movements more spacious.
That’s when the internal logic of the practice clarified: the point isn’t to overpower the body; it’s to let the body mobilize itself. Once I stopped trying to “win” the session, my focus became calmer, and the movement quality improved anyway.
Use attentive thinking to calm the noise
At first, I didn’t realize how much stress disguised itself as effort. I’d say I was “trying to relax,” but my mind was still scanning for errors, like a supervisor standing over my shoulders.
What changed my experience was treating attentive thinking as part of the mechanics. During Shibashi set 1, I used my attention to follow breath duration and movement details—not to judge the outcome. When distractions showed up, I didn’t wrestle them; I redirected gently to the current posture and the next transition.
This is where self-healing stopped being a vague promise and became a felt process. The practice helped me eliminate distractions and reduce stress because my mind had a job it could actually do: stay present with breath + alignment as the sequence unfolds.
Breathing is the hidden “metronome”
Many people ask about Tai Chi Qigong Shibashi breathing pattern for beginners, but the answer I wish I’d heard earlier is simpler: your breath duration must govern the movement pace. If your breathing speeds up while your arms still “look slow,” you create internal mismatch—your body will tighten to compensate.
When I practiced with steady breathing and stopped forcing posture depth, my movements felt more uniform and delicate, like they were stretched from the inside instead of pulled outward. The mind and body started syncing in a way I could recognize instantly.
I also learned that breath timing changes what “precision” means. Precision wasn’t about extreme positions; it was about consistent transitions and controlled flow across the entire 18-movement sequence.
The result wasn’t just feeling calmer—it was feeling organized. After a while, I could sense that the set was cleansing and harmonizing in a practical way: meridians felt “less stuck,” and my movement felt more coordinated across the day.
A realistic way to practice Shibashi set 1 safely
When you’re practicing with the expectation of self-healing, it’s tempting to treat discomfort as proof you’re doing it right. That’s how I ended up overreaching: I ignored warning signs and assumed more effort would equal better results.
Instead, I watched for the kind of feedback the practice can bring—soreness, numbness, swelling, heat, or a warm current—and I treated it as a calibration signal. If something spiked uncomfortably, I reduced range and kept the sequence flowing rather than forcing a correction mid-motion.
No equipment and no prior experience were part of what drew me in, but that doesn’t mean the body is “nothing.” I learned to respect the simple rule: stay gentle enough that your breath doesn’t collapse, and precise enough that the movement stays continuous.
That combination is what made my practice repeatable. And repeatable is how it becomes a real routine, not a one-off experiment.
If you’re consistent, you’ll notice the change in your body
Looking back, the biggest shift wasn’t learning the 18 movements faster. It was learning how to stop fighting my own tension, so the sequence could reorganize me.
And once the set became a single flowing practice, it wasn’t about “curing” in some dramatic sense—it was about giving your body a dependable system to return to.
Write down your breath duration so you can match movement timing without guessing.
Film only transitions, not the whole set to catch where your stance breaks continuity.
Use a smaller range before you go bigger to keep breathing steady when your body responds.
Pick one correction you can feel instantly (waist rotation, chest broadening, arm arc) and ignore the rest.
Practice the first six like a warm map so the rest of the sequence has less friction.
Treat heat or numbness as a signal, not a victory and adjust before the session ends.
End by running the sequence once gently so your mind finishes with flow, not fatigue.
Do the set when your stress is highest—it’s when attentive thinking shows you the most.
Leave a Reply